Quick Answer: Should You Paint or Spray Kitchen Cabinets?
Spraying kitchen cabinets gives a smoother, more factory finished result and is faster for a full kitchen, but requires specialist equipment or a professional service and needs doors removed and a suitable spray area. Painting by brush or roller is more accessible for DIY, needs no special equipment, but takes longer to achieve an equally smooth finish and is more prone to visible brush marks on flat cabinet fronts.
Spraying Kitchen Cabinets: Pros and Cons
- Pros: Smooth, professional finish with no brush marks, faster coverage across many doors, even application into recessed panel details
- Cons: Requires a spray gun or HVLP system, needs a suitable ventilated space, doors typically need removing, overspray risk without proper masking
- Best for: Full kitchen respray projects, shaker style doors with recessed panels, anyone wanting a factory quality finish
Brush and Roller Painting Kitchen Cabinets: Pros and Cons
- Pros: No special equipment needed, can be done in stages without removing every door at once, lower upfront cost
- Cons: More visible brush marks on flat surfaces, slower to achieve an even finish, harder to get a smooth result on recessed panel detailing
- Best for: Budget conscious DIY projects, flat slab door styles, smaller kitchens
How to Prepare Kitchen Cabinets for Painting or Spraying
- Remove all doors, drawer fronts, and hardware, labelling each for easy reassembly
- Clean thoroughly with sugar soap or a degreaser to remove cooking residue and grease, which is essential for paint adhesion
- Sand all surfaces with fine grit sandpaper to key the existing finish, particularly on glossy or laminate cabinet fronts
- Fill any dents or damage with a suitable filler and sand smooth once dry
- Apply a suitable primer designed for kitchen cabinets or melamine surfaces, since standard wall primer will not adhere properly to many cabinet finishes
Best Paint for Kitchen Cabinets
Specialist cabinet and furniture paint, formulated for durability and a smooth finish, generally outperforms standard wall emulsion or eggshell for kitchen cabinets — our matt vs silk paint guide covers finish choice in more depth for walls. Water based, hard wearing formulations designed specifically for kitchen units are worth the extra cost, since kitchen cabinets face far more daily wear, moisture, and cleaning than a typical wall.
Spray Painting Kitchen Cabinets: What Equipment Do You Need?
- HVLP (high volume low pressure) spray gun for the most controllable, even finish
- A well ventilated space, ideally a garage or outbuilding, with plastic sheeting to contain overspray
- Appropriate respirator and eye protection for safety
- Sawhorses or a stand to support doors horizontally during spraying and drying
Given the equipment and skill involved, many homeowners choose to hire a professional spray painting service for kitchen cabinets rather than attempting a full DIY spray job, particularly for a first attempt.
Cost Comparison: DIY vs Professional
| Method | Typical Cost (Average Kitchen) | Time Required |
|---|---|---|
| DIY brush and roller | £150 to £350 (materials only) | 3 to 5 days including drying time |
| DIY spray (own equipment) | £250 to £500 (materials and basic equipment) | 2 to 4 days |
| Professional spray service | £1,500 to £4,000 | 3 to 7 days depending on kitchen size |
How Many Coats Do Kitchen Cabinets Need?
Most kitchen cabinet paint jobs need a primer coat followed by two topcoats for full, even coverage and durability. Skipping to a single topcoat, even with a good quality paint, generally leaves a less durable, less even finish that shows wear more quickly around handles and edges.
Why Painted Kitchen Cabinets Chip: 7 Mistakes to Avoid
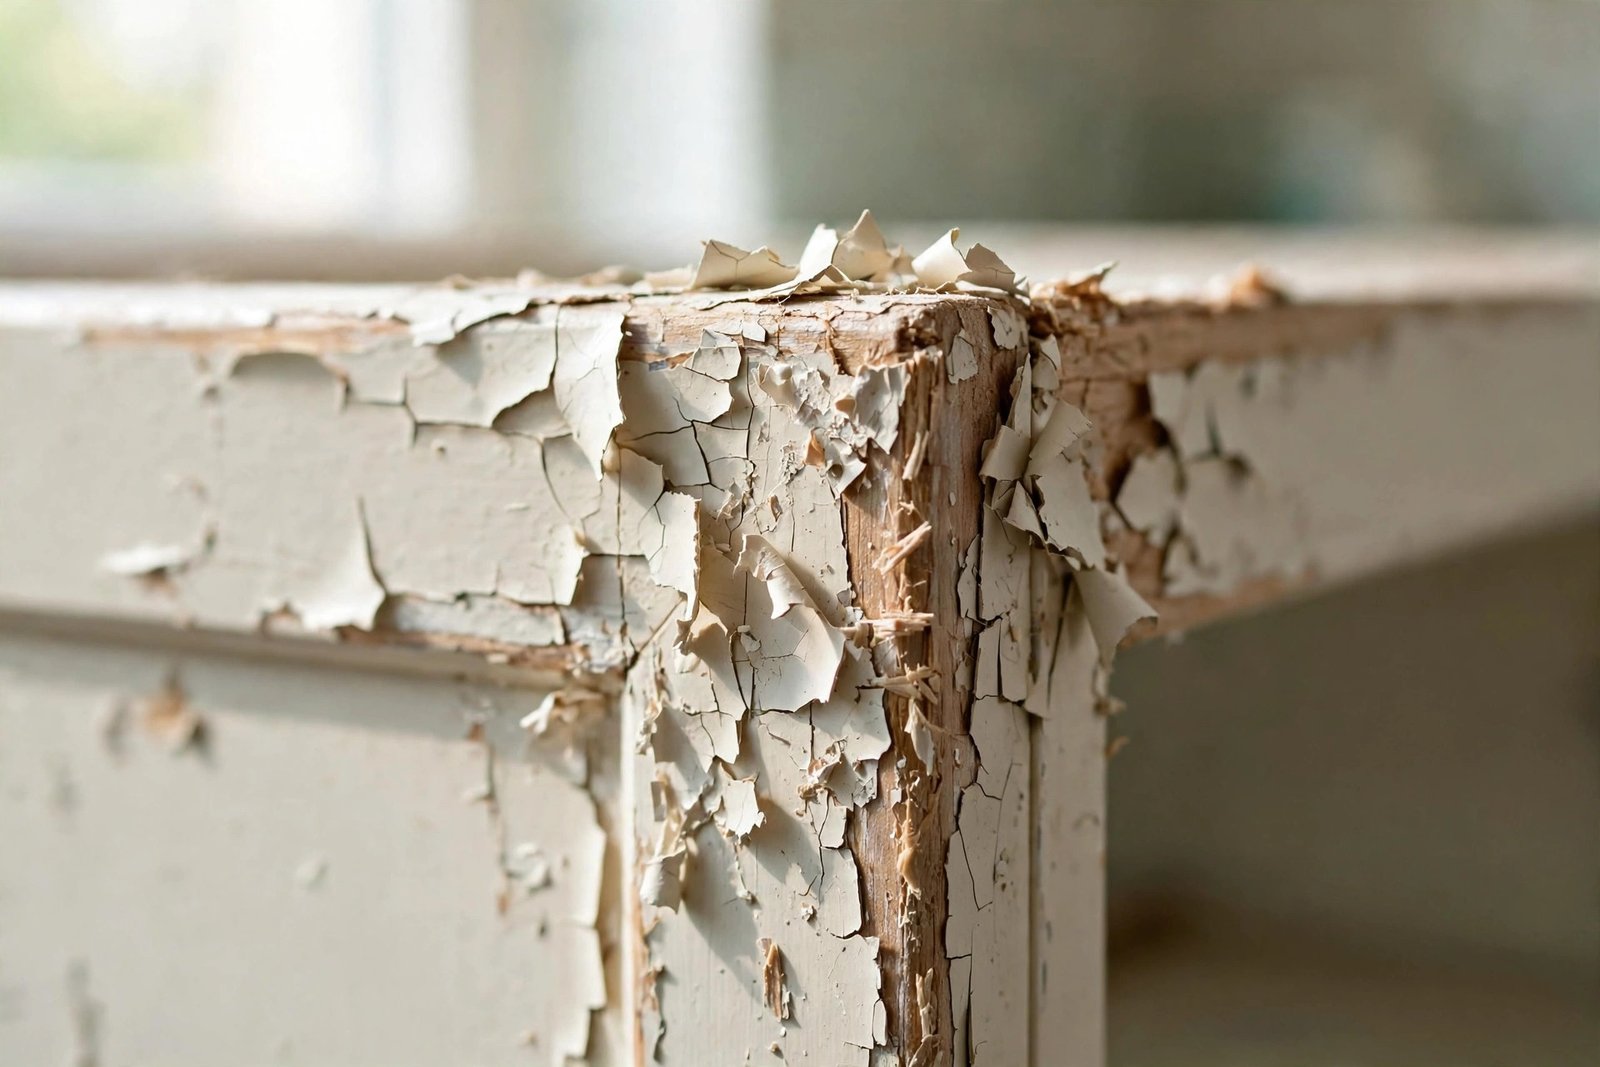
Most chipping and peeling on painted kitchen cabinets traces back to preparation shortcuts rather than the paint itself. The table below lists the mistakes that cause the most failures, in rough order of how often they occur.
| Mistake | Why it causes chipping | How to avoid it |
|---|---|---|
| Skipping proper degreasing | Cooking grease stops paint bonding to the surface | Scrub every surface with sugar soap or a kitchen degreaser until it feels dull, not slick |
| No sanding on glossy finishes | Smooth gloss gives the primer nothing to grip | Lightly scuff all glossy areas with fine grit sandpaper to create a key |
| Skipping primer on laminate | Paint cannot bond directly to melamine | Use a bonding primer formulated for laminate or melamine surfaces |
| One thick coat instead of two thin ones | Thick coats stay soft and crack under daily use | Apply a primer plus two thin topcoats, allowing full drying between each |
| Rehanging doors too soon | Paint that feels dry may not have cured | Wait at least 7 days before heavy use; full cure can take up to 3 weeks |
| Leaving sanding dust behind | Dust in wet paint creates a weak, gritty bond | Vacuum and wipe with a tack cloth before priming |
| Using wall paint instead of cabinet paint | Wall emulsion is too soft for handles and daily contact | Choose a hard wearing cabinet or furniture paint designed for high contact areas |
Chipping almost always starts in the same places: around handles and knobs, on door edges, and on the doors nearest the cooker where heat and grease are highest. If you are repainting cabinets that have already chipped, sand the damaged areas back to a sound edge, spot prime with a bonding primer, and feather in the topcoats rather than painting over loose paint, which will simply peel again.
One timing point catches out many DIYers. Water based cabinet paints feel dry to the touch within hours but stay soft underneath for days. Closing doors, fitting handles or cleaning the surface during this window leaves marks that never fully disappear. Patience between coats and after the final coat is the cheapest insurance for a long lasting finish.
Frequently Asked Questions
Do you need to remove kitchen cabinet doors before painting?
For the best finish, yes, removing doors allows more even coverage, particularly into recessed panel details, and makes it far easier to avoid drips and uneven brush marks compared to painting in place.
How long do painted kitchen cabinets last?
A well prepared, properly painted or sprayed cabinet finish using durable cabinet paint typically lasts 5 to 10 years before needing a refresh, depending on how heavily the kitchen is used.
Can you spray paint laminate kitchen cabinets?
Yes, with correct preparation including thorough cleaning, sanding to key the surface, and a suitable primer formulated for laminate or melamine, laminate cabinets can be successfully sprayed or painted.
Is spraying kitchen cabinets worth the extra cost?
For a smooth, professional finish, particularly on shaker style doors with recessed panels, spraying generally gives a noticeably better result than brush painting, though the extra cost needs weighing against your budget and the finish quality you want.
What is the best finish for kitchen cabinet paint?
A durable, wipeable finish such as a specialist cabinet eggshell or satin paint is generally recommended, balancing an attractive low sheen look with the practical durability kitchen cabinets need.
Why are my newly painted kitchen cabinets chipping already?
Early chipping is almost always a preparation problem: grease left on the surface, no sanding on glossy finishes, or primer skipped on laminate. The paint cannot bond properly and lifts under normal daily use, usually starting around handles and door edges.
Can you fix chipped paint on kitchen cabinets without repainting everything?
Yes, for small areas. Sand the chipped spot back to a sound edge, apply a bonding primer to the bare area, then touch up with the original topcoat, feathering the edges. Widespread chipping usually means the preparation failed and a full strip and repaint lasts longer.
How long should painted kitchen cabinets cure before use?
Allow at least 7 days before normal heavy use, and up to 3 weeks for a full cure with water based paints. The surface may feel dry within hours, but the coating stays soft underneath and marks easily during the curing period.
Does primer really matter on kitchen cabinets?
Yes, particularly on laminate, melamine or previously gloss painted cabinets, where topcoat alone cannot bond. A bonding primer formulated for slick surfaces is the single most important step for preventing peeling on non timber cabinets.
Which areas of painted cabinets chip first?
Handles and knobs, door edges, and the doors closest to the cooker chip first because they take the most physical contact, heat and grease. Extra care with preparation and curing in these zones pays off in a longer lasting finish.
Expert Insight
Professional kitchen painters consistently report that preparation, particularly degreasing and sanding, accounts for the majority of the time on a cabinet repaint project, and rushing this stage is the single biggest cause of poor adhesion and premature chipping regardless of whether the final coat is brushed or sprayed.
Final Thoughts
Both spraying and brush painting can deliver a good result on kitchen cabinets, but they suit different budgets, skill levels, and finish expectations. Spraying gives the smoothest, most professional finish but demands more equipment and preparation, while brush painting remains a realistic, lower cost DIY option, particularly for simpler flat door styles.
Planning a cabinet repaint? Test your chosen paint and technique on the inside of one door first, so any issues with adhesion or finish show up before you commit to the whole kitchen.
Related Guides
- Matt vs Silk Paint: Which Should You Choose?
- How to Remove Paint and Varnish
- Best Paint for Garden Furniture: Complete Guide
Written by the HometoWorld editorial team, covering home improvement, renovation, and property maintenance across the UK.
About the Author